亚马逊AWS上安装Nginx(Linux,CentOS环境)
以前一直使用Apache服务器,但是在内存贵如油的AWS上,使用省内存的Nginx服务器应该是个不错的选择,它能降低我们很多成本。
关于AWS的linux实例安装请参考在亚马逊AWS上创建EC2的Linux(CentOS)实例
我们分以下五步,完成aws上nginx的架设。
1. 安装mysql
2. 安装nginx
3. 安装php
4. 配置php
5. 配置nginx
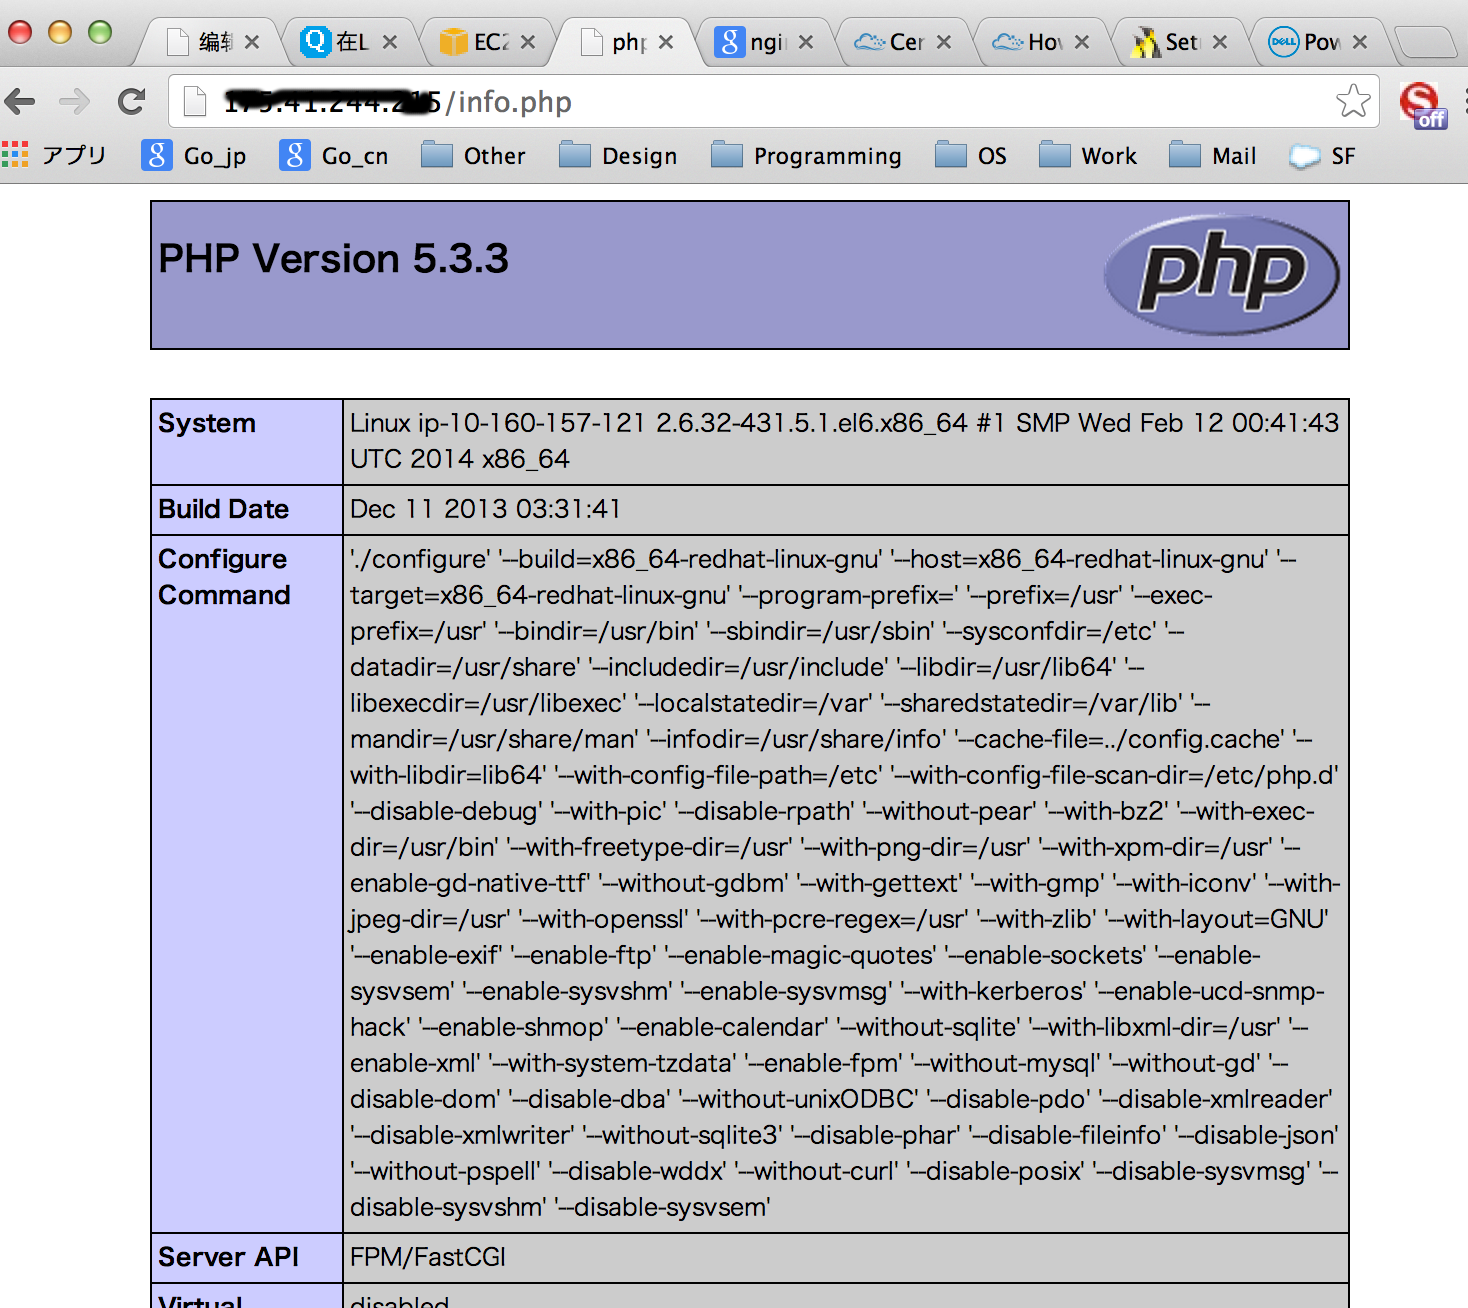
6. 测试安装结果
安装必要的库
# cd
# wget http://dl.fedoraproject.org/pub/epel/6/x86_64/epel-release-6-8.noarch.rpm
# rpm -ivh epel-release-6-8.noarch.rpm
# rm -rf epel-release-6-8.noarch.rpm
1. 安装mysql
切换到root用户
安装mysql
# yum install mysql mysql-server
1. 安装nginx
# yum install nginx
启动nginx,并且配置nginx开机启动
# /etc/init.d/nginx start# chkconfig nginx on3. 安装php
安装php及相关php的包
# yum install php php-mysql php-common php-gd php-mbstring php-mcrypt php-devel php-xml php-pear php-fpm
4. 配置php
# vi /etc/php.ini
找到#cgi.fix_pathinfo=1,在下面添加
cgi.fix_pathinfo=0
5. 配置nginx
vi /etc/nginx/conf.d/default.conf
更改如下
server {
listen 80 default_server;
server_name _;
#charset koi8-r;
#access_log logs/host.access.log main;
location / {
#root /usr/share/nginx/html;
root /var/www/html;
index index.php index.html index.htm;
}
error_page 404 /404.html;
location = /404.html {
#root /usr/share/nginx/html;
root /var/www/html;
}
# redirect server error pages to the static page /50x.html
#
error_page 500 502 503 504 /50x.html;
location = /50x.html {
#root /usr/share/nginx/html;
root /var/www/html;
}
# proxy the PHP scripts to Apache listening on 127.0.0.1:80
#
#location ~ \.php$ {
# proxy_pass http://127.0.0.1;
#}
# pass the PHP scripts to FastCGI server listening on 127.0.0.1:9000
#
location ~ \.php$ {
root /var/www/html;
fastcgi_pass 127.0.0.1:9000;
fastcgi_index index.php;
fastcgi_param SCRIPT_FILENAME $document_root$fastcgi_script_name;
include fastcgi_params;
}
# deny access to .htaccess files, if Apache’s document root
# concurs with nginx’s one
#
#location ~ /\.ht {
# deny all;
#}
}
6. 启动nginx
# /etc/rc.d/init.d/nginx restart# chkconfig nginx on
 QQ咨询
QQ咨询
